Hand Setting Rhinestones: Linear, Honeycomb and Scatter Patterns on Painted and Unpainted Background
Choosing the Right Rhinestone Placement Pattern
When hand-setting flatback rhinestones on tumblers, garments, or other surfaces, the placement pattern you choose dramatically impacts the final look and coverage of your design. Understanding the differences between linear, honeycomb, and scatter patterns—and how painted versus unpainted backgrounds affect the appearance—will help you achieve professional, polished results.

Three Essential Rhinestone Placement Patterns
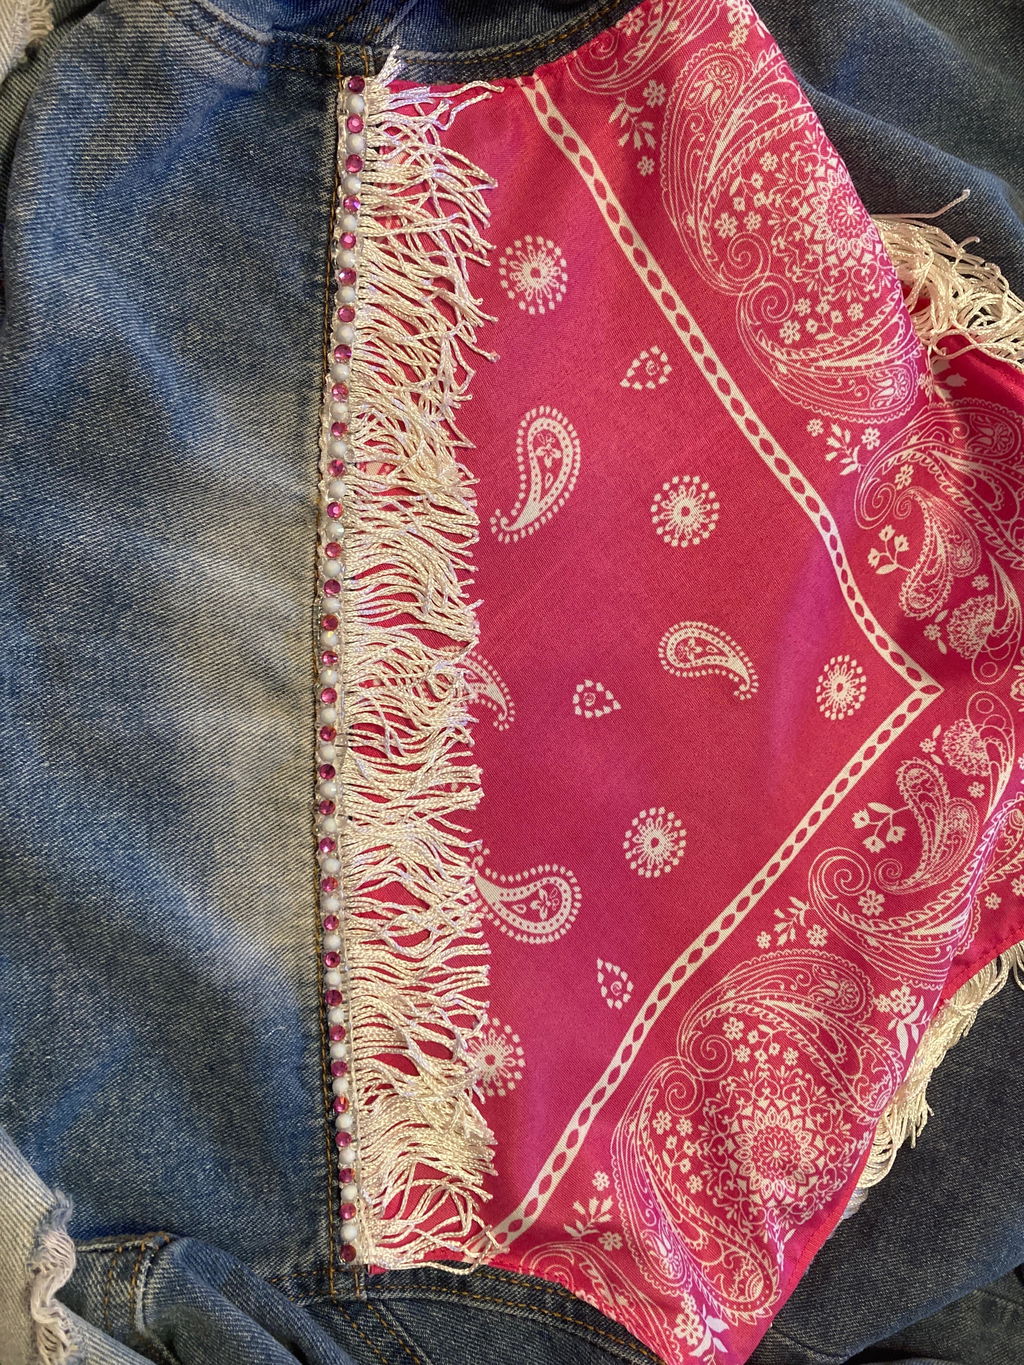
Linear Placement Pattern
Linear placement is when rhinestones are stacked directly on top of one another in straight rows and columns. While this creates a clean, grid-like appearance, it leaves more visible space between stones.
Honeycomb Placement Pattern
The honeycomb pattern is the most common technique that staggers each row so that rhinestones nestle into the gaps of the previous row. This technique allows stones to be placed closer together, maximizes coverage, and creates a more seamless, professional finish. The honeycomb pattern is ideal for achieving maximum sparkle.
Scatter Placement Pattern
Scatter placement distributes rhinestones in a random, organic arrangement rather than following a strict grid. This pattern works beautifully for gradient effects, constellation designs, or when you want a more artistic, less structured look. Like honeycomb placement, scatter patterns allow stones to be positioned closer together for better coverage.
The Impact of Painted vs Unpainted Backgrounds
One of the most transformative techniques in rhinestone application is matching the base color to the rhinestones. When you coordinate your background with your flatback rhinestones, the spaces between stones visually disappear, creating the illusion of complete coverage and a more luxurious, seamless finish.
Unpainted backgrounds: Gaps between rhinestones are clearly visible, which can make your design appear less polished and require more stones for adequate coverage.
Painted backgrounds: The coordinating color fills the visual gaps, making your rhinestone work appear denser and more professional, even with the same number of stones.
Best Practices for Hand-Setting Rhinestones
- Choose honeycomb or scatter patterns for maximum coverage and professional results
- Paint your base surface to match your rhinestone color before application
- Use a quality adhesive appropriate for your surface material
- Work in small sections to ensure proper placement before the adhesive sets
- Plan your pattern with a template or light pencil marks for consistent spacing
Frequently Asked Questions
Which rhinestone placement pattern uses the fewest stones?
Linear patterns allow rhinestones to be stacked, requiring fewer rhinestones to cover a larger space compared to honeycomb and linear patterns..
Do I need to paint the background before applying rhinestones?
While not required, painting your background to match your rhinestone color creates a more seamless, professional appearance by visually eliminating gaps between stones.
What's the best pattern for beginners?
Start with linear placement to build confidence, then progress to honeycomb patterns for more professional results. Scatter patterns work well once you're comfortable with spacing and adhesive working time.
Ready to Create Stunning Rhinestone Designs?
Whether you choose linear, honeycomb, or scatter placement, understanding these fundamental patterns and the impact of painted backgrounds will elevate your rhinestone work from amateur to professional. Experiment with different techniques to discover which pattern best suits your creative vision and project requirements.